If you just bought web hosting on AWS, you don't need to transfer your domain name away from Trustname or use a third-party hosting service. All you need to do is add the AWS nameservers to your domain account on Trustname.
By pointing your domain nameservers, you give the web host full control of your DNS management. So, whenever a user enters your domain name in their browser, the nameservers automatically direct them to the right web server hosting your website content.
Key Takeaways
- No Domain Transfer Required – Keep your domain registered safely at Trustname while hosting your website files on Amazon Web Services (AWS).
- DNS Delegation – Updating nameservers gives AWS Route 53 full management control over your domain's DNS routing.
- Propagation Window – Nameserver changes typically take between 24 to 48 hours to fully propagate across the global internet.
- Re-configure Custom Records – Remember to re configure any pre existing email (MX) or custom DNS records directly within your AWS account.
TABLE OF CONTENTS
- Key Takeaways
- Connect Your Domain to AWS
- Understanding Nameserver Formats
- Confirming the Nameserver Connection
- Consolidating Your Domain and Hosting with Trustname
Connect Your Domain To AWS
To connect your Trustname domain to AWS, follow these steps.
- Obtain The Nameservers On AWS
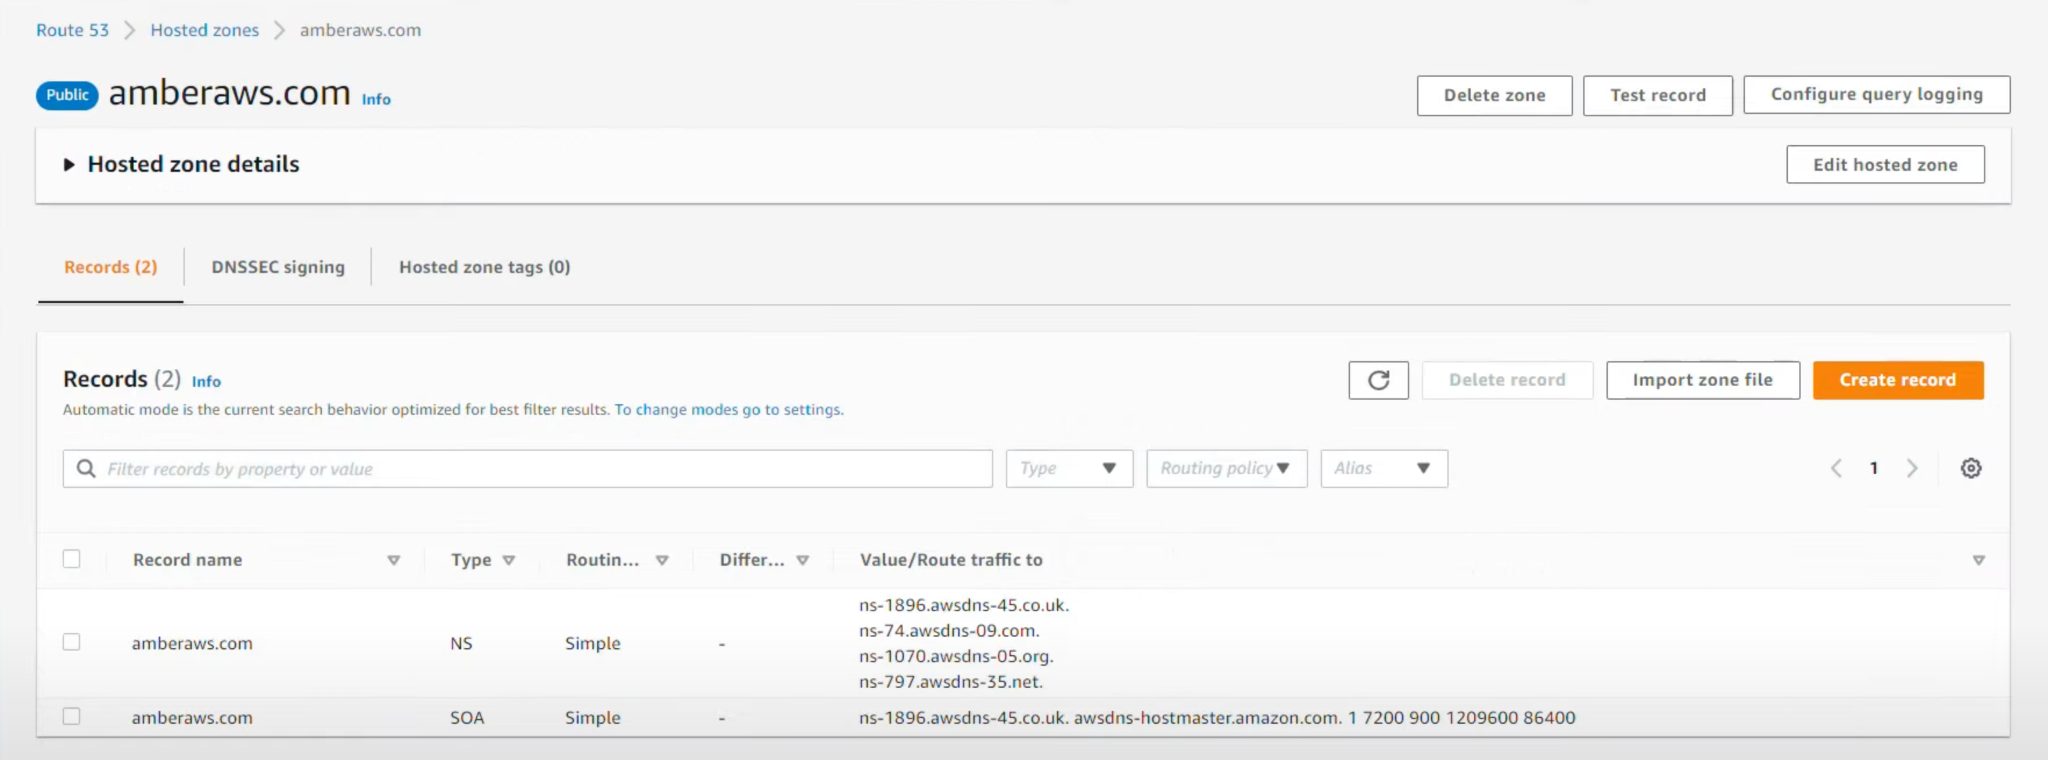
Since you've just bought web hosting from AWS, you will receive all the details of your plan, including the nameservers, via email. Alternatively, you can check the nameservers using the Route 53 console.
[+] [List] Green Ordered - Sign into the AWS Management Console and open the Route 53 console.
- Navigate to the "Hosted Zone" section and select the right domain. Your domain nameservers will be displayed on the screen.

- However, if you haven't created the hosted zone for your domain yet, log into the Route 53 console and click "Hosted Zone".
Next, click "Create Hosted Zone" and enter your domain name. Specify the type of hosted zone (public or private) and hit save.
- Add The Nameservers On Trustname
Once you have obtained the nameservers from AWS, it's time to add them to your domain at Trustname. Let's get started!
[+] [List] Green Ordered - Log In To Your Trustname Account
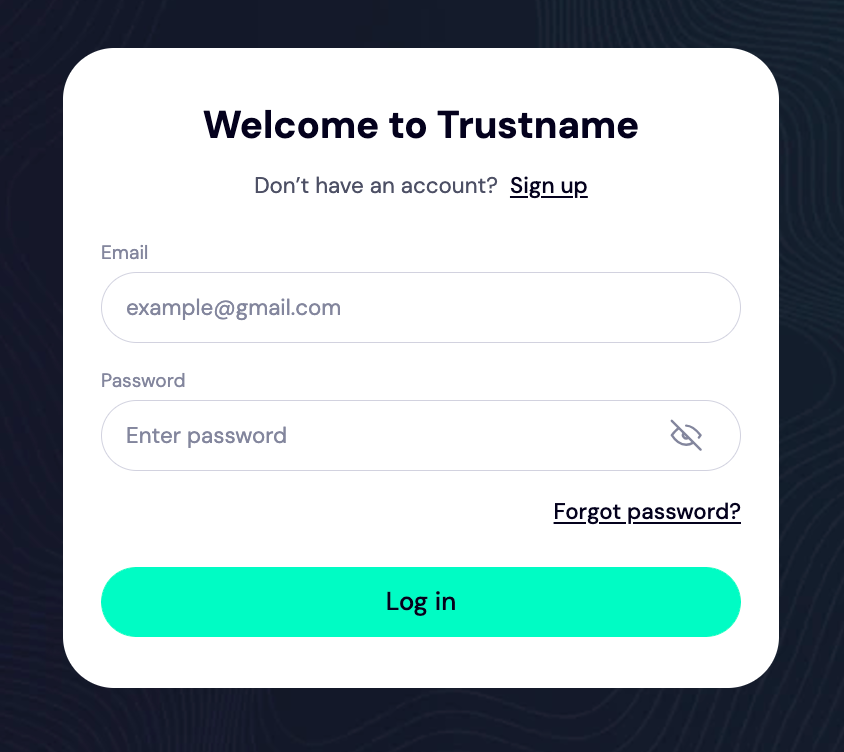
Type the trustname.com website into your web browser. On the main page, click "Login" in the top right corner and enter your account details.
If you use the two-factor authentication service, copy the time based code from your authenticator app and paste it into the Trustname portal.
- Access Your Domain Settings
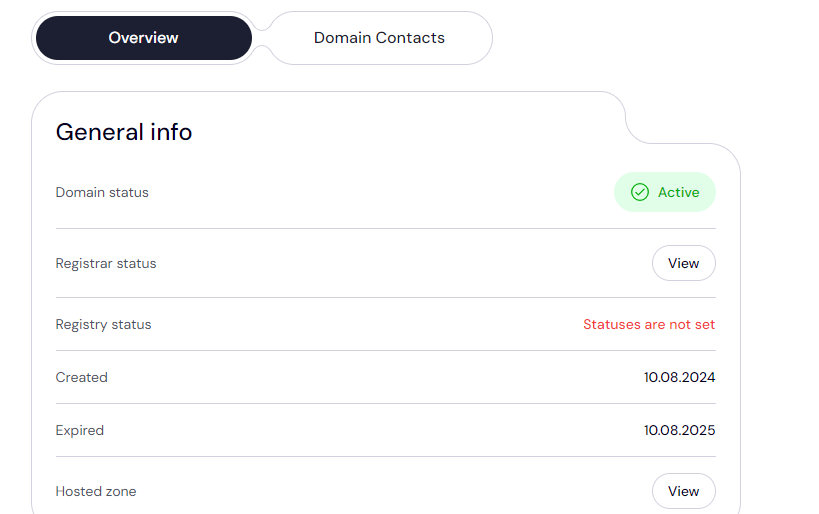
Next, you're directed to the Customer Portal. Locate "Domains" in the header section and click "Registered Domains" from the dropdown menu to access your domain list.

Click on the domain whose nameservers you want to configure. You'll then be redirected to the domain management settings and contact details page.
- Change The Nameserver Settings
Scroll down to the "Domain Nameservers" section to see your current domain nameservers.
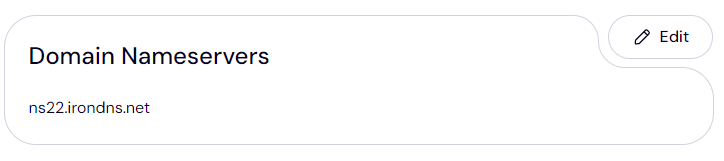
Click on the "Edit" button to configure your nameservers. Type in or paste the nameserver addresses you copied from AWS and click "Save" That's it!
- Log In To Your Trustname Account
Understanding Nameserver Formats
Domain nameservers follow a standard format a prefix such as "ns1" and "ns2" (which indicate the primary and secondary nameservers, respectively), followed by the domain name of the web host or DNS provider.
Ex - A typical nameservers format looks like this.
- ns1.hostingprovider.com
- ns2.hostingprovider.com
Once you have configured your nameservers on your Trustname domain, it'll take 24 to 48 hours to propagate across the Internet.
If you already have email (MX) or custom DNS records set, you will need to re configure them on your AWS account to ensure uninterrupted service.
Confirming The Nameserver Connection
To be sure that all the changes resolve globally.
- Simply type your domain name into any web browser to verify that it displays your website content properly.
- Alternatively, use a DNS lookup tool like WhatsMyDNS type in your domain name and select "NS" from the dropdown menu to see if the nameservers are resolving globally.
Consolidating Your Domain And Hosting With Trustname
There's no better way to enjoy your domain management than consolidating the registration and web hosting on Trustname. Our comprehensive domain management services are all you need to get your website up and running in no time.
Here are the benefits of consolidating with us.
- All Under One Roof
Manage all your web assets under one roof from domain renewals to hosting configurations without the hassle of juggling multiple providers.
- Bundle Savings
You save more when you buy Trustname bundle offers we give you a free domain on every web hosting plan.
- Automatic Setup
What's even better? Your nameservers are set automatically, and you won't have to add them manually.
Was this article helpful?
That’s Great!
Thank you for your feedback
Sorry! We couldn't be helpful
Thank you for your feedback
Feedback sent
We appreciate your effort and will try to fix the article